Optical Check
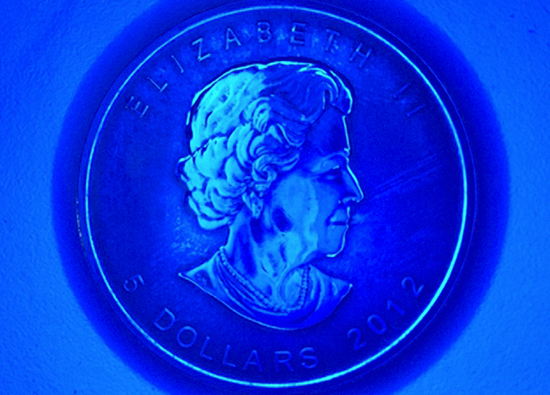
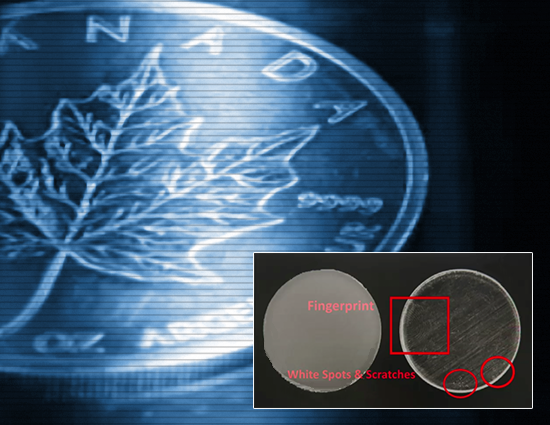
The so-called visual imaging is the supreme discipline of modern inspection technology, especially when the object to be inspected – in our case a coin – reflects.

Putting things in the right light!
Besides a well-founded knowledge in optics, experience in the selection of different lighting situations and recording processes is essential. In hardly any other technical area is there such a rapid development as in the hard- and software of visual imaging.
Double recording speed, high transfer rates (in milliseconds), parallel preprocessing of the pictures – all these are important decisions and it is our job to keep track of new developments and to choose the right components/technologies for you. Only when a new component has gone through intense internal testing, will it be incorporated into your application/equipment.
The bottom line: We test the feasibility at our facilities and not at your site – this gives you security.


Optical 3D measurements
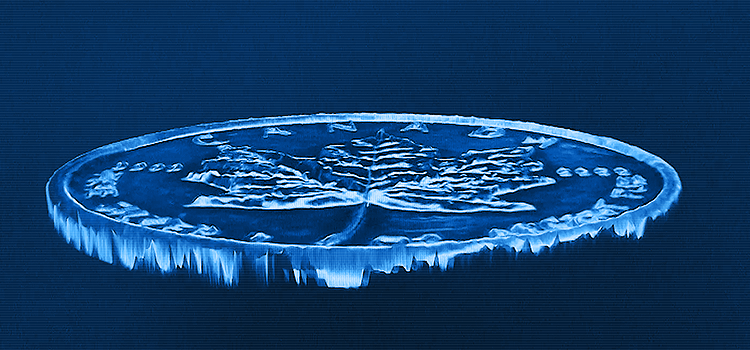
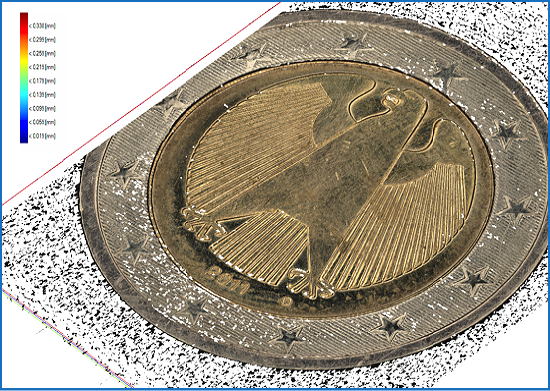
Optical stereoscopy is a pioneering technology that will change our future operating procedures. With just one recording a relief is visualized and processed in real-time. The thereby created 3D data model can be arbitrarily moved and analyzed, while of course being automatically evaluated.
In this way, you will see what others cannot - or possibly should not – see. The security markers worked into the coin can be reliably and automatically detected.
This technology works absolutely reliably – even with the extremely high working speed – making sure you stay on the ball and secure your market share.
Speed is not magic
The process itself is not new – but what has changed in the last few years is the tremendously fast recording and processing speed with which analysis can be performed. Therefore, calibrated optical systems can deliver data that is evaluated in real-time.
In our case, real-time means that your product will run through our camera system with up to 340mm/sec (which is 12km/h) and its 3D model will immediately be available.
Optical resolution in the area of 4µ (4 micron) are a well-established standard, but are not always required. Here it is also our goal to match the specific use of components and technologies to the customer’s requirements.
We do not want to use a sledgehammer to crack a nut.

Any questions?
Do you have questions about one of these projects, or are you looking for a specific solution to an existing problem? Contact us, we from Economa will be happy to advise you – and also visit our company at www.economa.at

